
How do you disassemble the Apple iMac G5 iSight Intel Duo Core Mac?
I first removed the memory modules by unscrewing the bottom access panel.
The Plexiglas on the front is held on by a magnetic strip around the lip.
I used a piece of clear tape to grab it and gently pulled it away. A small suction cup works also.
From there you can get to the screws that hold the outside bezel in place.
From there, you can lift off the front bezel (disconnecting the camera cable at the top) and gain access to the display bracket screws on each side.
Once you take those out, then the display will lift out of the chassis. Just keep track of the four sets of cables that plug in the back side of the display and there is one main MOB display connector cable with a clip.
Here is a video that shows a few of those items:
Note there were more connectors on the bottom of the display on the Aluminum iMac G5 that I had an opportunity to work on. I noted which connecters went where before disconnecting them.
Below are pictures of the Apple iMac G5 iSight Intel Core 2 Duo model.
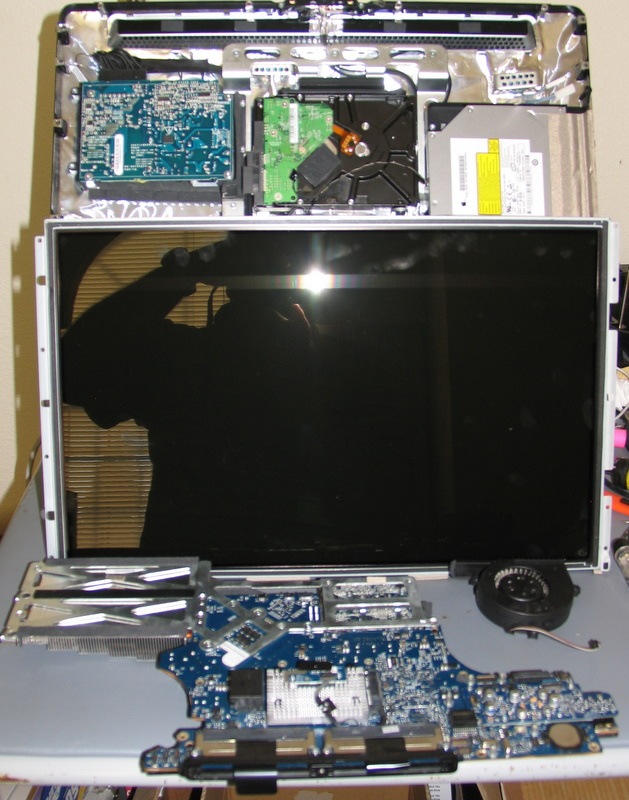

Pictured above is the inside of the iMac G5 Intel Core 2 Duo. Note the power supply in the upper left corner, followed by the hard drive in the upper middle, and the DVD/CD Super Drive on the right side. Located directly below the hard drive is the mother board (main logic card) with the main heatsink screwed directly to the mother board (MOB). To the right and left of the MOB are the fans. To the the right and left side of the fans are the built-in small speakers.
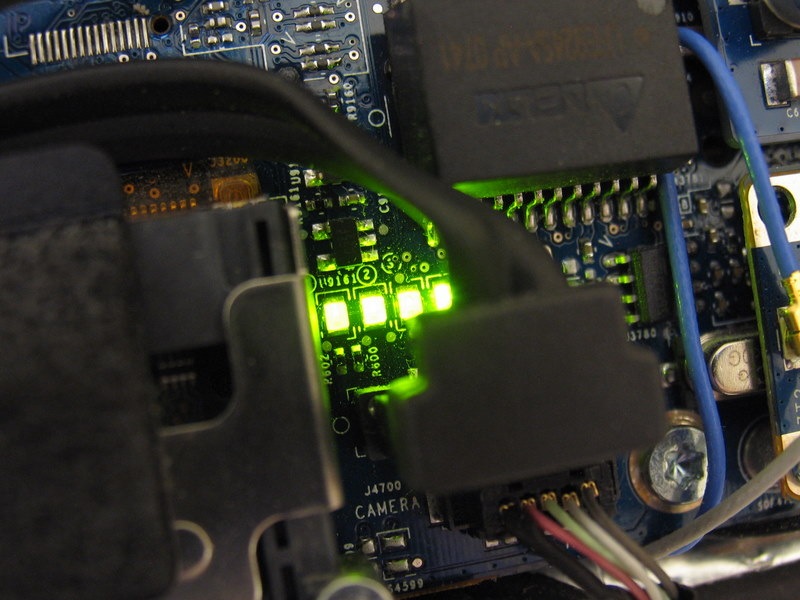
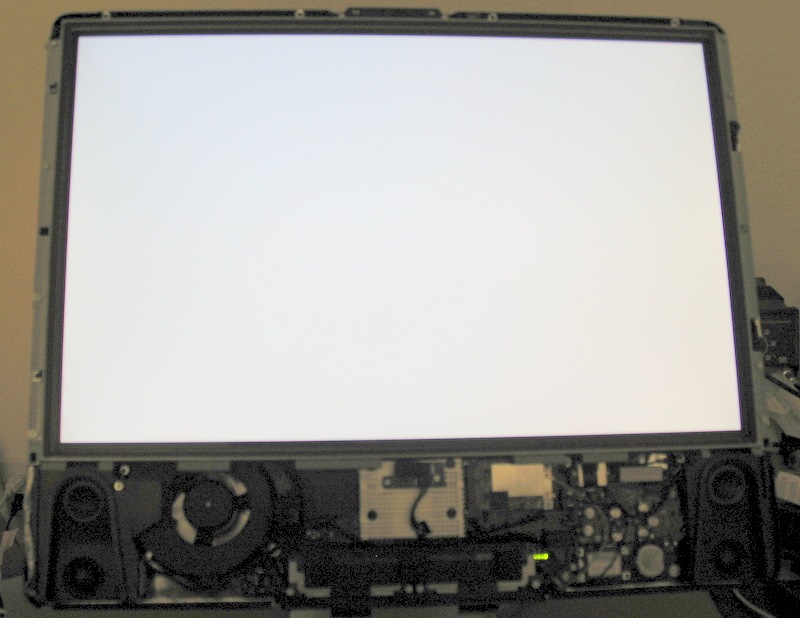
Pictured above are the onboard status lights (LEDs) located on the main logic card. These LEDs can also been seen in the first picture of the Apple iMac G5 Intel with the bezel removed. However, I don’t believe these status lights match up to the older iMac G5 PPC onboard status lights. Citation required.
Here is some additional information on some of the Apple iSight G5 models.
Below is a video of an earlier generation iMac G5 iSight model. I believe this video is of an interim iMac G5 model.
Note the memory is located in the bottom of the iMac. Access is by removing a small screw in the access panel. I also suggest you remove the memory first.
Article by: Jim Warholic
Jim is President of Professional Web Services, Inc., an Internet marketing services company specializing in both the B2B and B2C market place. If you would like to find out more information about getting your business more sales and qualified leads online, contact Professional Web Services today.